
2014-2025 Ram 2500 / 3500 4x4 Leveling Kit Installation Guide
2014–2025 Ram 2500 / 3500 4x4 Leveling Kit
Installation Guide | Apoc Industries
Fits: 2014–2025 Ram 2500 4x4 & Ram 3500 4x4
865-983-5004 | 9–5 EST | support@apocindustries.com
Fitment Notes — Read Before Installing
- Fits 2014–2025 Ram 2500 4x4 and Ram 3500 4x4
- Does NOT fit: Power Wagon models, Rebel models (equipped with factory 1"–2" lift), or models with rear air ride suspension
- All lift sizes (2", 2.5", and 3") are direct bolt-on — no cutting or trimming required
⚠ Shock Note: Stock shocks are compatible with the 2" and 2.5" lift. For the 3" lift, longer shocks or shock extensions are recommended to maintain proper suspension travel and prevent damage.
Kit Includes
- (2) Front coil spacers — driver and passenger side, in your selected lift size (2", 2.5", or 3")
Safety
To ensure safety while installing suspension products, always wear safety glasses and use the correct tools. Park on a level surface, set the parking brake, and chock the rear wheels before lifting the vehicle.
Required Tools
- Floor jack and jack stands
- Torque wrench
- Digital angle finder or inclinometer (for caster measurement)
- Socket set — metric and standard
- Wheel chocks
- Safety glasses and gloves
Torque Specifications
| Fastener | Torque Spec |
|---|---|
| Upper and lower control arm bolts | 258 ft-lbs — torque at ride height with full weight on suspension |
| Factory alignment cam bolts | 158 ft-lbs — torque after caster is set at ride height |
| Front lower shock bolt | 35 ft-lbs + 105° additional rotation (or approximately 100 ft-lbs straight torque) |
| Front upper shock nut | 33–35 ft-lbs — tighten until rubber bushings compress slightly without crushing |
| Lug nuts | 140 ft-lbs |
⚠ Always torque control arm bolts and cam bolts with the vehicle at ride height — full weight on the suspension. Torquing with the suspension hanging will preload the bushings and cause premature wear.
Installation Steps
Step 1 — Loosen Control Arm Bolts
Securely chock the rear tires. Loosen the upper and lower control arm bolts — only loosen them enough to allow the bushings to pivot freely. Do not remove them. Leaving them fully tight while lowering the axle can bind and damage the bushings.
Step 2 — Raise the Vehicle and Support on Jack Stands
Use a floor jack to raise the front of the vehicle. Place jack stands beneath the frame rails and lower the vehicle onto them. Keep a floor jack under the front axle so you can lower it further during installation.
Step 3 — Remove the Front Wheels
Remove both front wheels.
Step 4 — Disconnect the Lower Shock Bolt
Remove the lower shock bolt on both sides to allow the axle to drop freely. You do not need to fully remove the shocks unless you are replacing them with longer units. If replacing with longer shocks, remove the shocks completely at this time. If installing shock extensions, leave the factory shocks in place and only disconnect the lower bolt.
Step 5 — Lower the Axle and Release Coil Spring Pressure
Slowly lower the floor jack under the axle to release pressure off the coil springs. Lower the axle until there is enough clearance between the top of the coil spring and the coil spring bucket to install the leveling spacer.
Step 6 — Install the Leveling Spacer
Place the Apoc Industries leveling spacer into the upper coil spring bucket. The spacer sits directly against the coil bucket. Ensure the spacer is fully seated and centered before raising the axle. Reuse the factory rubber coil spring insulator between the coil spring and the spacer.
Step 7 — Raise the Axle and Seat the Coil Spring
Slowly raise the floor jack under the axle to compress the coil spring up against the leveling spacer and coil bucket. Verify everything is seated correctly before proceeding.
Step 8 — Reinstall or Install Shocks
Reconnect the lower shock bolt — or install the new longer shocks or shock extensions. Torque the lower shock bolt to 35 ft-lbs then rotate an additional 105° (or approximately 100 ft-lbs straight torque). Torque the upper shock nut to 33–35 ft-lbs until the rubber bushings compress slightly without crushing.
Step 9 — Install Wheels
Reinstall the front wheels and hand-tighten the lug nuts.
Step 10 — Lower the Vehicle to Ride Height
Lower the vehicle to the ground and remove the jack stands so the full weight of the vehicle is on the suspension. Roll the vehicle forward and back a few feet to allow the suspension to settle at true ride height.
Step 11 — Set Caster and Torque Alignment Cam Bolts
With the vehicle at ride height, set and verify caster before final torque of the cam bolts.
What is Caster?
Caster is the angle of the steering axis — specifically, how far the upper ball joint is behind the lower ball joint when viewed from the side. If you drew a line through the center of the upper and lower ball joints, that line should be tilted rearward 3.5–5 degrees from vertical. Caster is what keeps your truck tracking straight on the road and causes the steering wheel to return to center after a turn. If your truck wanders on the highway or pulls every time it hits a dip in the road, you likely need more caster.
How to Measure Caster
- Place a digital angle finder on the machined flat surface on top of the steering knuckle, around the upper ball joint — this surface is designed for this measurement
- The reading should be between 3.5 and 5 degrees
- Apoc Industries recommends no less than 3.5 degrees — factory Ram spec is approximately 3.5 degrees
- For trucks running offset wheels, Apoc recommends approximately 5 degrees for best on-road tracking and steering return
How to Adjust Caster
- Use the factory alignment cam bolts on the lower arm axle-side mount for fine caster adjustment
- With a 2.5" leveling kit installed, the factory cam bolts will typically provide approximately 2.5 degrees of caster correction — enough to return the truck close to factory spec in most cases
- If more than 2.5 degrees of correction is needed, the cam bolts alone will not be sufficient. To achieve greater caster correction you will need drop brackets or offset ball joints
- Once caster is set to your preference, torque the factory alignment cam bolts to 158 ft-lbs
Step 12 — Final Torque
With the vehicle at ride height and caster set, torque the control arm bolts to 258 ft-lbs. Torque lug nuts to 140 ft-lbs in a star pattern.
Step 13 — Final Inspection
Verify that nothing is rubbing, that brake hoses and ABS sensor wires are not pinched or stretched, and that all hardware is properly torqued before driving.
Post-Installation Instructions
- After driving for 500 miles, re-torque all fasteners and inspect all components visually.
- A professional front-end alignment is required after installation — do not skip this step.
- Adjust headlights to proper aim after leveling.
- Before driving, visually inspect all components to ensure they are functioning properly.
Safety Disclaimer
This installation guide is provided for reference purposes. Apoc Industries assumes no liability for improper installation, use of incorrect torque values, or failure to follow all safety procedures. Suspension modifications significantly affect vehicle handling characteristics. Always have suspension work inspected by a qualified mechanic and comply with all local laws regarding vehicle modifications.
Apoc Industries | apocindustries.com | 865-983-5004 | support@apocindustries.com | Document Version: v1.0
865-983-5004
Customer Service
Phone support available 9 AM–5 PM EST, Monday–Friday. Call us with questions or leave a message in the chat box—we'll respond during business hours.
Blog posts
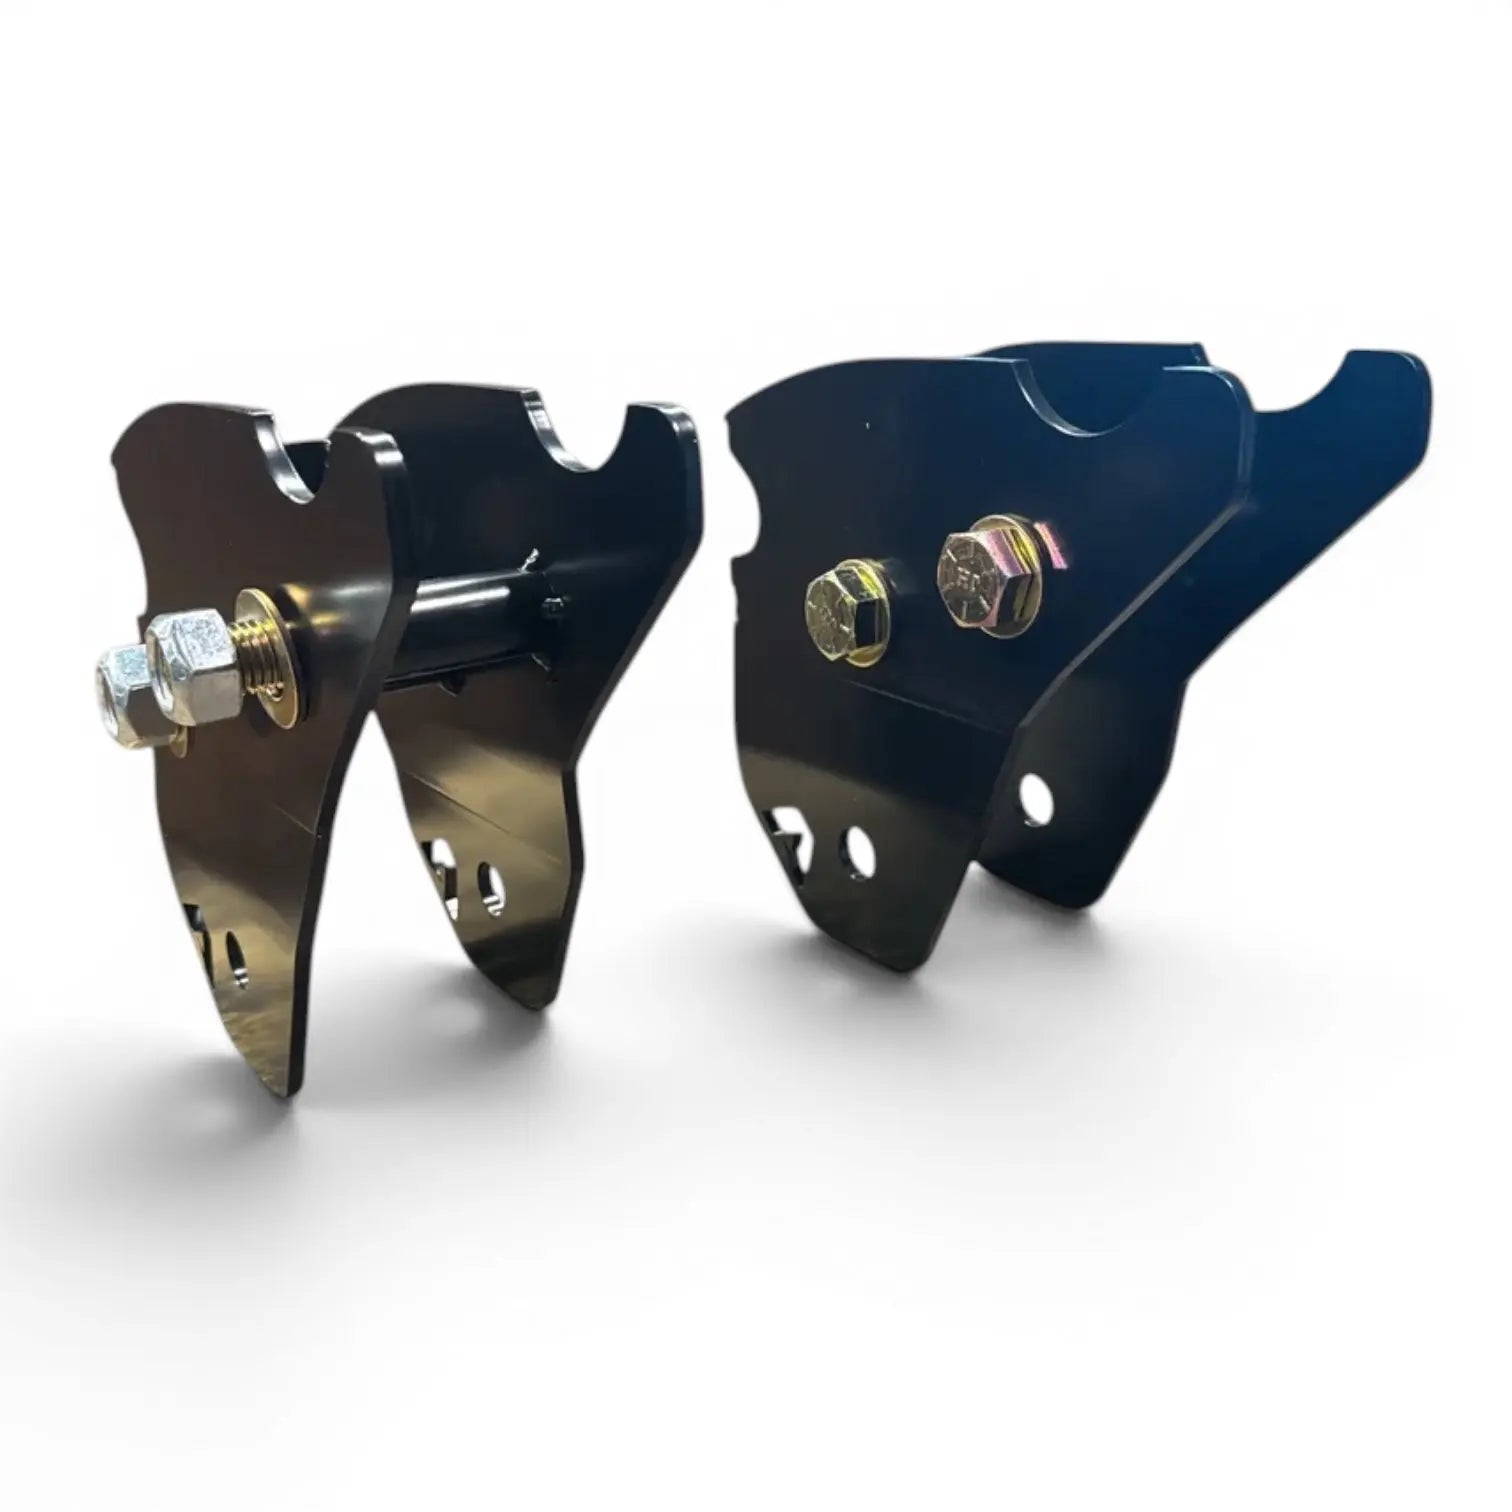
Radius Arm Drop Brackets: What They Are and Why Your Lifted Truck Needs Them
Learn how radius arm drop brackets restore proper suspension geometry on lifted trucks, correcting caster loss, bump steer, and ride quality issues.
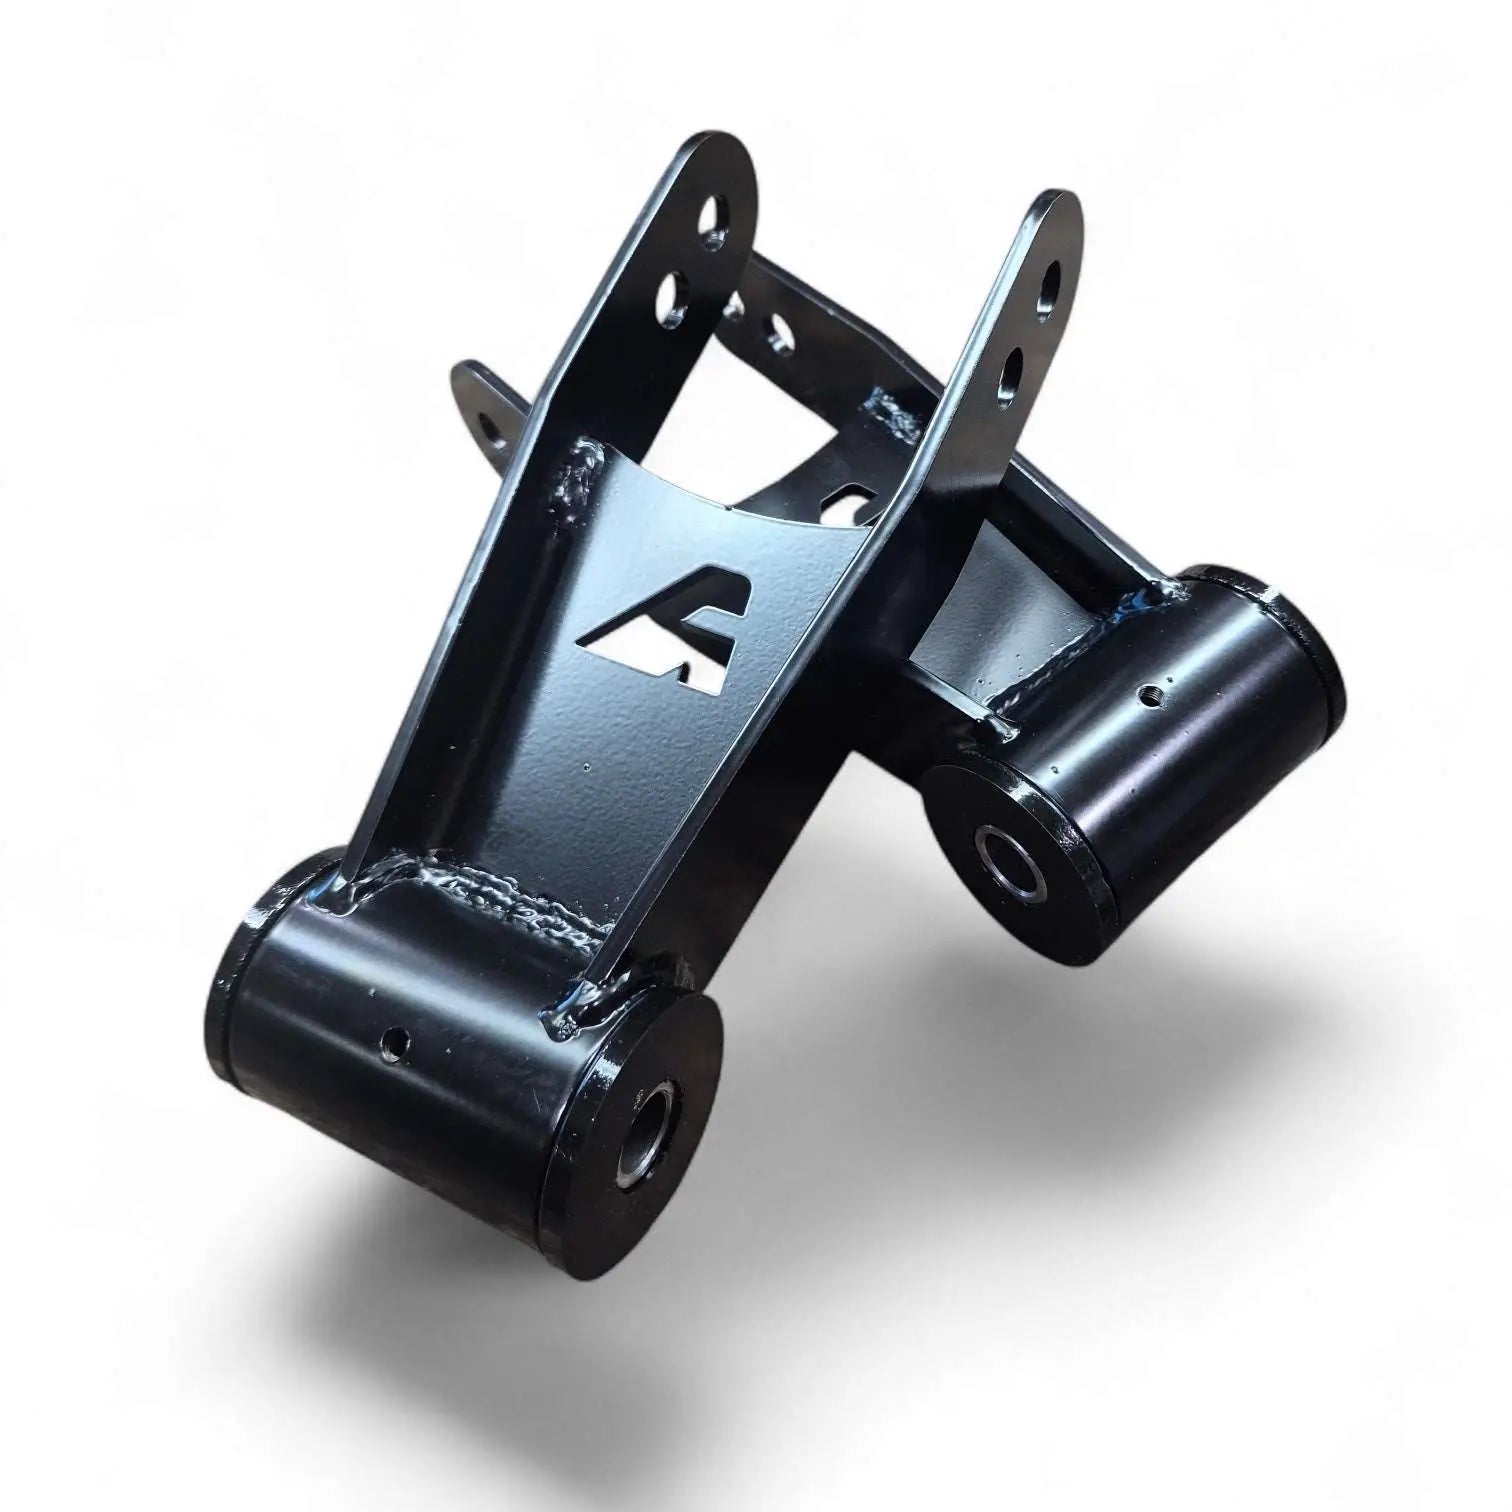
Whether you want to drop the rear of your F-150 for a leveled stance or add lift to a Ram or Silverado, APOC shackles deliver strength, adjustability, and clean bolt-on performance. Here’s everythi...
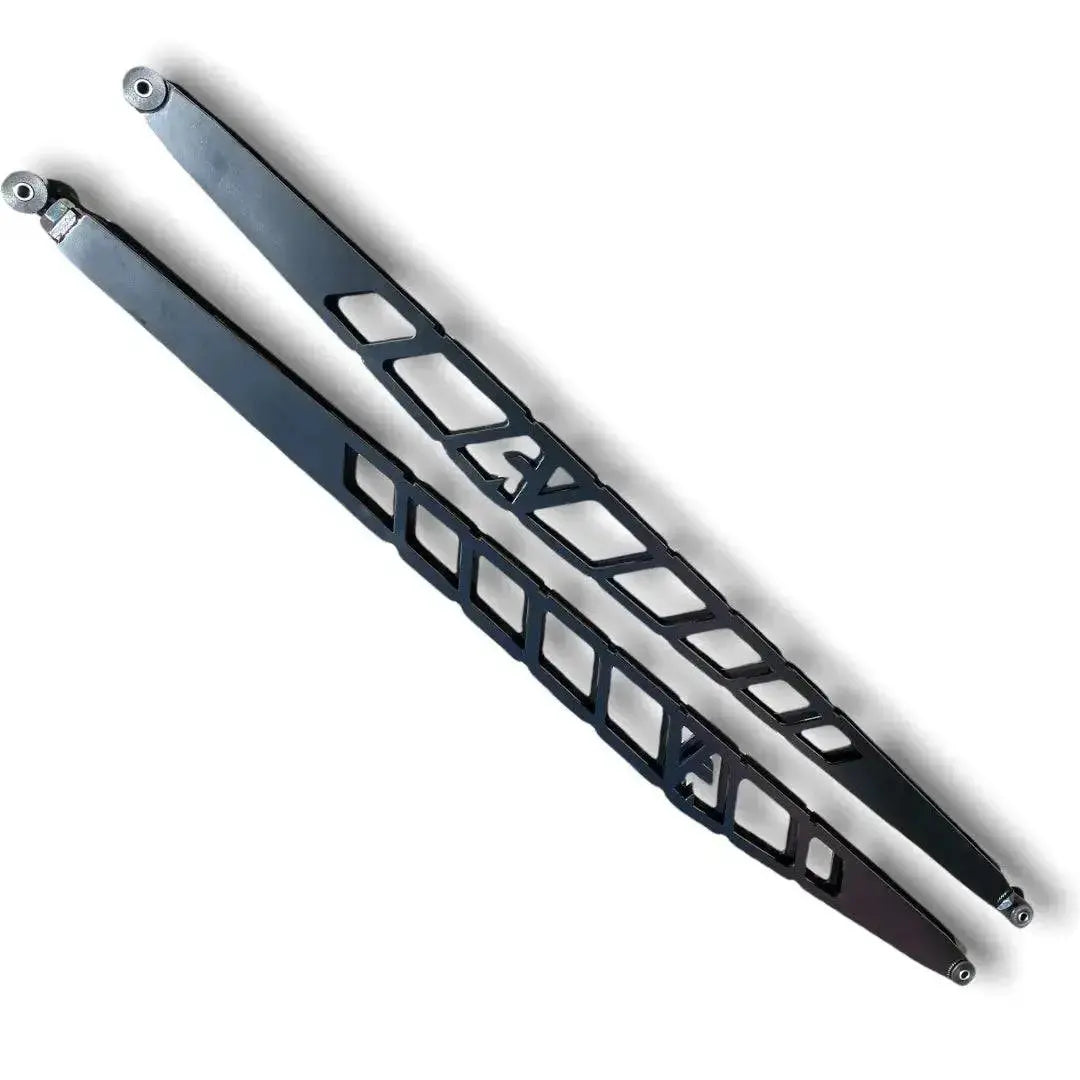
Ladder Traction Bars for Trucks: How They Work, Benefits & Why APOC Ladder Bars Stop Axle Wrap
Lifted trucks with big power or tall lift blocks are prone to axle wrap and wheel hop. Ladder traction bars solve the problem by locking down the rear axle under hard acceleration and towing. Here’...