
2005-2022 Ford F-250/F-350 Super Duty Radius Arm Drop Brackets Installation Guide
2005–2022 Ford F-250/F-350 Super Duty Radius Arm Drop Brackets
Installation Guide | Apoc Industries | SKU: 9-382 | Fits: 2005–2016 & 2017–2022 Ford F-250/F-350 Super Duty | Lift Range: 2"–4" | Bolt-On | Install Time: 1–2 Hours | No Drilling Required
Pre-Install Checklist
Required Tools
- Floor jack (minimum 3-ton capacity)
- Torque wrench
- Socket set — metric and standard, 3/8" and 1/2" drive
- Pry bar and rubber mallet
- Reamer or round file (may be required — see Step 2 note)
- Safety glasses, gloves, and steel-toed boots (PPE)
Vehicle Preparation
- Park vehicle on a flat, level, hard surface
- Engage parking brake fully
- Chock all wheels
- Disconnect the negative battery terminal before beginning work
Safety Warnings
⚠ Wear safety glasses and gloves at all times. Keep bystanders clear of the work area. Never work under a vehicle supported only by a floor jack.
Verify Fitment Before Starting
- Confirm vehicle year is 2005–2016 or 2017–2022 Ford F-250 or F-350 Super Duty 4WD
- Confirm vehicle has a 2"–4" suspension lift kit installed
- Confirm SKU 9-382 is in your order
Parts Checklist
Verify all items against your packing slip before beginning installation.
- 2x CNC-cut steel radius arm drop brackets — powder-coated finish
- 4x New 3/4" bolts (supplied) — 2 per side, one through each factory frame hole
- Factory radius arm pivot bolts — retained and reused in the lower drop bracket hole
Hardware Reference
| Bolt | Location | Torque Spec |
|---|---|---|
| Factory radius arm bolt (reused) | Lower drop bracket hole — holds radius arm in place | 222 ft-lbs |
| New supplied 3/4" bolt — upper hole (×2 per side) | Both existing factory frame holes in the drop bracket | 200 ft-lbs each |
Step-by-Step Installation Sequence
Note: Both radius arms are attached to the same axle and move together — both frame-side pivot bolts must be removed at the same time to allow the axle to rotate and create clearance for the drop brackets. Both sides are installed simultaneously.
Step 1 — Remove Both Frame-Side Radius Arm Pivot Bolts
- Locate the frame-side radius arm pivot bolt on both the driver and passenger side — this is where the rear of each radius arm attaches to the factory frame bracket, as the pivot point is the most rearward part of the radius arm
- Remove both pivot bolts at the same time and set aside — these factory bolts will be reused
- Removing both allows the axle to rotate freely so the radius arms drop down and clear the factory frame brackets
- Place a floor jack under one radius arm and slowly lower it to bring both radius arms down out of the factory frame brackets, creating clearance to install the drop brackets — both arms will move together as the axle rotates
- Lower only enough to clear the factory brackets
Step 2 — Slide the Drop Brackets into the Factory Frame Brackets
- Slide each APOC drop bracket up inside the factory radius arm frame bracket on both sides — the drop bracket is designed to nest inside the factory bracket
- The factory frame bracket already has two holes per side — align the drop bracket so both holes line up
- Install one new supplied 3/4" bolt through each factory frame hole on both sides (2 bolts per side, 4 total) — hand-tighten only at this stage
💡 Note on Hole Fit: In some cases the uppermost forward factory hole may need to be lightly reamed to accept the 3/4" bolt. If reaming is required, remove only the minimum material needed for the bolt to fit snugly — the fit must remain tight to prevent the drop bracket from shifting under heavy braking. Do not ream the hole oversized.
Step 3 — Jack the Radius Arms Back Up and Bolt Into the Drop Brackets
- Using the floor jack, raise the radius arm back up on one side — both arms will rise together as the axle rotates
- Align both radius arms with the lower hole of their respective drop brackets
- Install the factory radius arm bolt (reused) through the lower drop bracket hole to hold the radius arm in place — hand-tighten only at this stage
Step 4 — Torque All Fasteners
Torque all fasteners with the vehicle at ride height. Using a calibrated torque wrench, torque to the following specifications:
- Factory radius arm bolt (lower drop bracket hole): 222 ft-lbs
- New supplied 3/4" bolts (both factory frame holes, per side): 200 ft-lbs each
- Mark all torqued fasteners with a torque stripe for visual verification
Step 5 — Inspect
- Bounce the front suspension several times to settle the geometry
- Visually inspect both brackets and all hardware for proper seating
- Check that no components contact the frame, body, or brake lines through full suspension travel
Step 6 — Road Test and Re-Check Torque After 50–100 Miles
- Perform an initial low-speed road test — listen for unusual noises and check for vibration or wandering steering
- After 50–100 break-in miles, re-torque all fasteners to specification
- Inspect all hardware for loosening or movement
Post-Install Notes
- While a front-end alignment is not required after this installation, it is always recommended to have an alignment performed any time suspension components are serviced
- Inspect all hardware for loosening at each oil change interval
- These brackets are designed for 2"–4" lift kits — do not use with lifts outside this range
Safety Disclaimers
This installation guide is provided for reference purposes. Apoc Industries assumes no liability for improper installation, use of incorrect torque values, or failure to follow all safety procedures. Suspension modifications affect vehicle handling characteristics. Always have suspension work inspected by a qualified mechanic and comply with all local laws regarding vehicle modifications and lift height limits.
Apoc Industries | apocindustries.com | SKU: 9-382 | Document Version: v1.0

865-983-5004
Customer Service
Phone support available 9 AM–5 PM EST, Monday–Friday. Call us with questions or leave a message in the chat box—we'll respond during business hours.
Blog posts
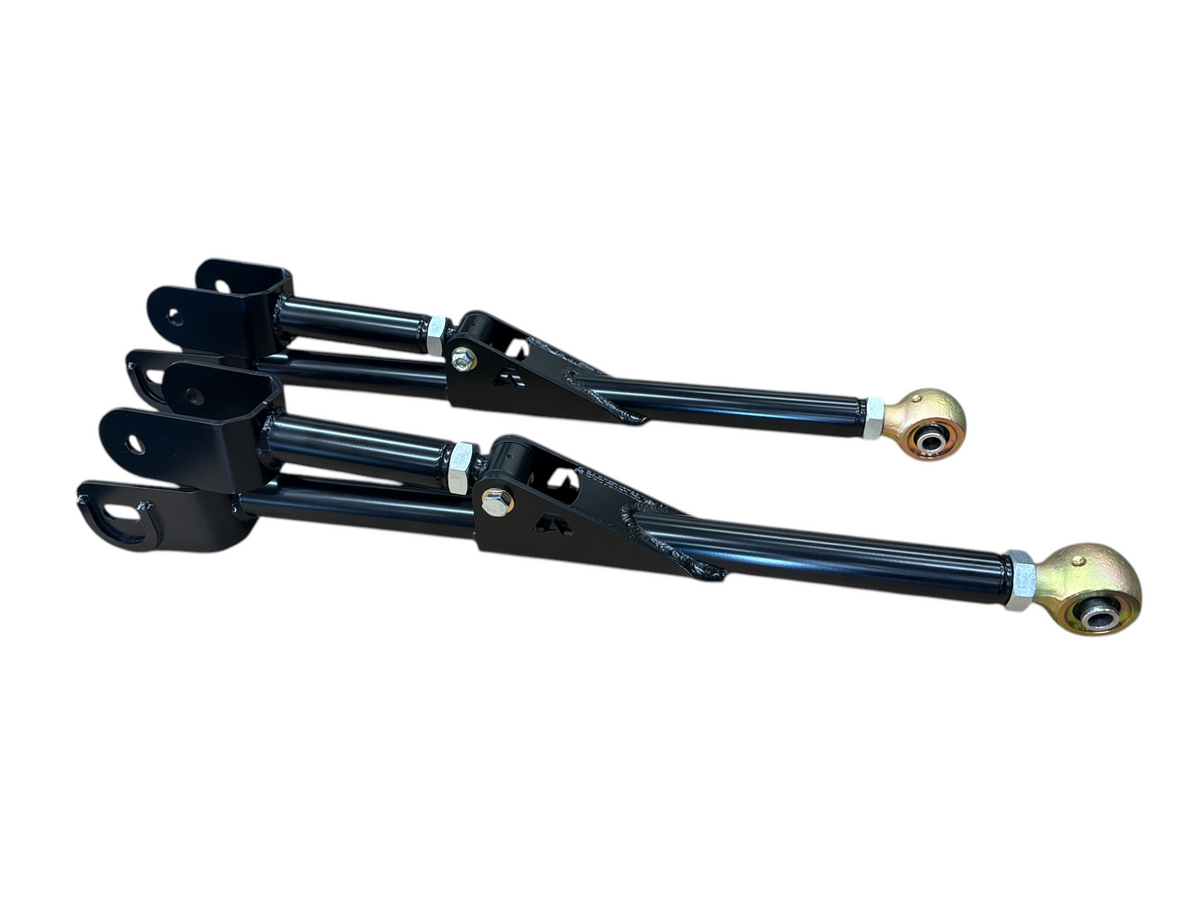
Why 2014-2026 Ram 2500 Trucks Need Adjustable Radius Arms After a Lift
How adjustable radius arms help 2014–2026 Ram 2500 trucks control axle position, caster, and front-suspension articulation from stock height through a 10-inch lift.
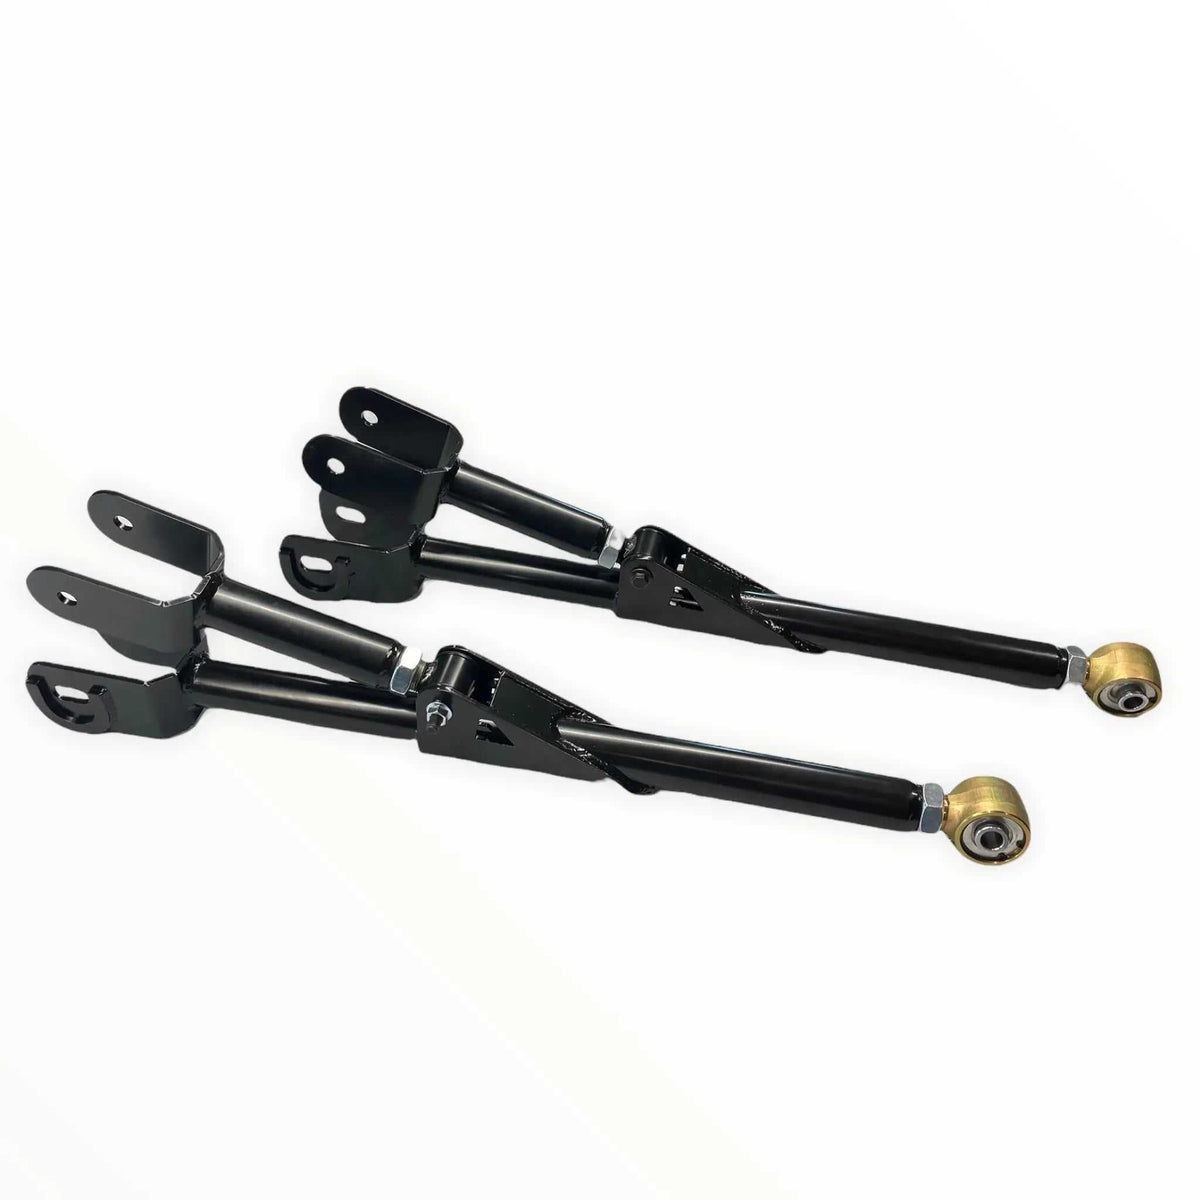
Why 2005-2022 Ford Super Duty Trucks Need Adjustable Radius Arms After a Lift
A practical look at how lifting a 2005–2022 Ford Super Duty changes front-end geometry, and how adjustable radius arms and flex joints help restore control on the road and articulation off-road.

Tire & Wheel Fitment Guide: 2014-2026 Ram 2500/3500 with a Leveling Kit
Running a leveling kit on your 2014-2026 Ram 2500 or 3500? Here's exactly what tire and wheel specs you need for a clean, no-rub fit — including Ram-specific offset and track bar tips.