
2005-2016 Ford F-250 / F-350 Super Duty Leveling Kit Installation Guide
2005–2016 Ford F-250 / F-350 Super Duty Leveling Kit
Installation Guide | Apoc Industries
Fits: 2005–2016 Ford F-250 & F-350 Super Duty — 4WD | Gas & Diesel
865-983-5004 | 9–5 EST | support@apocindustries.com
Additional Fitment Notes
- Fits 2005–2016 Ford F-250 and F-350 Super Duty — 4WD, gas and diesel
- 2" lift option only: Trimming of the upper coil spring centering nub is required for proper fitment. The 2.5", 3", and 3.5" options are direct bolt-on with no cutting needed.
⚠ Shock Note: Longer shocks or shock extensions are required for all lift sizes. Stock shocks will be over-extended and must be replaced or extended to maintain proper suspension travel and prevent damage.
Understanding Caster and Steering on the Super Duty
Unlike many other trucks, Ford Super Duty solid front axle trucks have no factory method to adjust caster. Any increase in front ride height — including a leveling kit — reduces caster angle, which can cause the steering to feel looser or wander more than before the lift. This is normal and is a result of the geometry change, not a defect in the kit.
Trucks running wider wheels with more aggressive offset will notice this effect more than trucks running factory offset wheels — the wider the wheel stance, the more sensitive the steering becomes to caster changes.
To correct caster and restore factory-like steering feel after leveling, we strongly recommend adding:
- Apoc Industries Adjustable Radius Arms — allow you to dial in caster angle and correct steering geometry after lifting
- Radius arm drop brackets — another option to help restore caster on leveled Super Duty trucks
A professional alignment shop can measure your caster angle after installation and advise on the best correction for your setup.
Kit Includes
- (2) Front coil spacers — driver and passenger side, in your selected lift size (2", 2.5", 3", or 3.5")
- All required Grade-8 hardware
Safety
To ensure safety while installing suspension products, always wear safety glasses and use the correct tools. Park on a level surface, set the parking brake, and chock the rear wheels before lifting the vehicle.
Required Tools
- Floor jack and jack stands
- Torque wrench
- Socket set — metric and standard
- Wheel chocks
- Safety glasses and gloves
Torque Specifications
| Fastener | Torque Spec |
|---|---|
| Radius arm bolts | 222 ft-lbs |
| Front lower shock bolt & flag nut | 111 ft-lbs (150 Nm) |
| Front upper shock absorber nut | 46 ft-lbs (63 Nm) — or tighten until the bushings swell slightly to match the outer diameter of the washer |
| Lug nuts — 2005–2008 / 2010 models | 150 ft-lbs (203 Nm) |
| Lug nuts — 2011–2016 models | 165 ft-lbs (224 Nm) |
⚠ Always torque radius arm bolts with the vehicle at ride height — full weight on the suspension. Torquing with the suspension hanging will preload the bushings and cause premature wear.
Installation Steps
Step 1 — Loosen Radius Arm Bolts
Securely chock the rear tires. Loosen the radius arm bolts at both the frame and axle side — only loosen them enough to allow the bushings to pivot freely. Leaving them tight can bind and damage the bushings when the axle is lowered.
Step 2 — Raise the Vehicle and Support on Jack Stands
Use a floor jack to raise the front of the vehicle. Place jack stands beneath the frame rails just behind the radius arm frame mounts and lower the vehicle onto them. Keep a floor jack under the front axle so you can lower it further during installation.
Step 3 — Remove the Front Wheels
Remove both front wheels.
Step 4 — Disconnect the Lower Shock Bolt
Remove the lower shock bolt on both sides to allow the axle to drop freely. You do not need to fully remove the shocks unless you are replacing them with longer units. If replacing with longer shocks, remove the shocks completely at this time. If installing shock extensions, leave the factory shocks in place and only disconnect the lower bolt.
Step 5 — Lower the Axle and Release Coil Spring Pressure
Slowly lower the floor jack under the axle to release pressure off the coil springs. Lower the axle until there is enough clearance between the top of the coil spring and the coil spring bucket to install the leveling spacer.
Step 6 — Trim the Centering Nub (2" Lift Option Only)
This step applies to the 2" lift option only. The upper coil spring bucket has a centering nub at the bottom where the factory rubber insulator originally sat. Cut approximately 1/2" off the bottom of this centering nub to allow the leveling spacer to seat fully and flush in the coil bucket. The 2.5", 3", and 3.5" spacers are direct bolt-on and do not require any trimming.
Step 7 — Install the Leveling Spacer
Place the Apoc Industries leveling spacer into the upper coil spring bucket. The spacer sits directly against the coil bucket. Ensure the spacer is fully seated and centered before raising the axle. Reuse the factory rubber coil spring insulator between the coil spring and the spacer.
Step 8 — Raise the Axle and Seat the Coil Spring
Slowly raise the floor jack under the axle to compress the coil spring up against the leveling spacer and coil bucket. Verify everything is seated correctly before proceeding.
Step 9 — Reinstall or Install Shocks
Reconnect the lower shock bolt — or install the new longer shocks or shock extensions. Torque the lower shock bolt and flag nut to 111 ft-lbs (150 Nm) and the upper shock absorber nut to 46 ft-lbs (63 Nm) — or until the bushings swell slightly to match the outer diameter of the washer.
Step 10 — Install Wheels
Reinstall the front wheels and hand-tighten the lug nuts.
Step 11 — Lower the Vehicle and Final Torque
Lower the vehicle to the ground and remove the jack stands. With the full weight of the vehicle on the suspension, torque the radius arm bolts to 222 ft-lbs. Torque lug nuts to the correct spec for your model year in a star pattern.
Step 12 — Final Inspection
Verify that nothing is rubbing, that brake hoses are not pinched or stretched, and that all hardware is properly torqued before driving.
Post-Installation Instructions
- After driving for 500 miles, re-torque all fasteners and inspect all components visually.
- A professional front-end alignment is required after installation — do not skip this step.
- Adjust headlights to proper aim after leveling.
- Before driving, visually inspect all components to ensure they are functioning properly.
Safety Disclaimer
This installation guide is provided for reference purposes. Apoc Industries assumes no liability for improper installation, use of incorrect torque values, or failure to follow all safety procedures. Suspension modifications significantly affect vehicle handling characteristics. Always have suspension work inspected by a qualified mechanic and comply with all local laws regarding vehicle modifications.
Apoc Industries | apocindustries.com | 865-983-5004 | support@apocindustries.com | Document Version: v1.0

865-983-5004
Customer Service
Phone support available 9 AM–5 PM EST, Monday–Friday. Call us with questions or leave a message in the chat box—we'll respond during business hours.
Blog posts
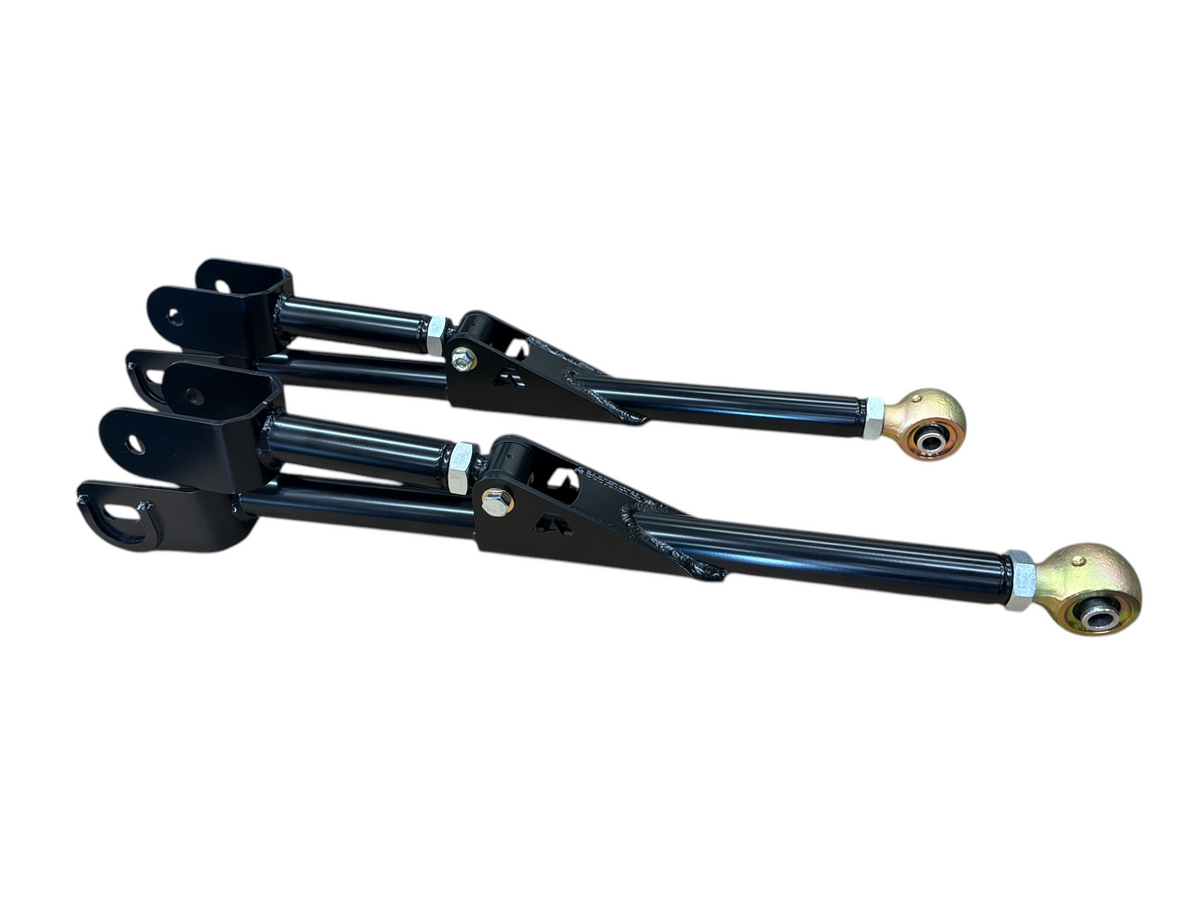
Why 2014-2026 Ram 2500 Trucks Need Adjustable Radius Arms After a Lift
How adjustable radius arms help 2014–2026 Ram 2500 trucks control axle position, caster, and front-suspension articulation from stock height through a 10-inch lift.
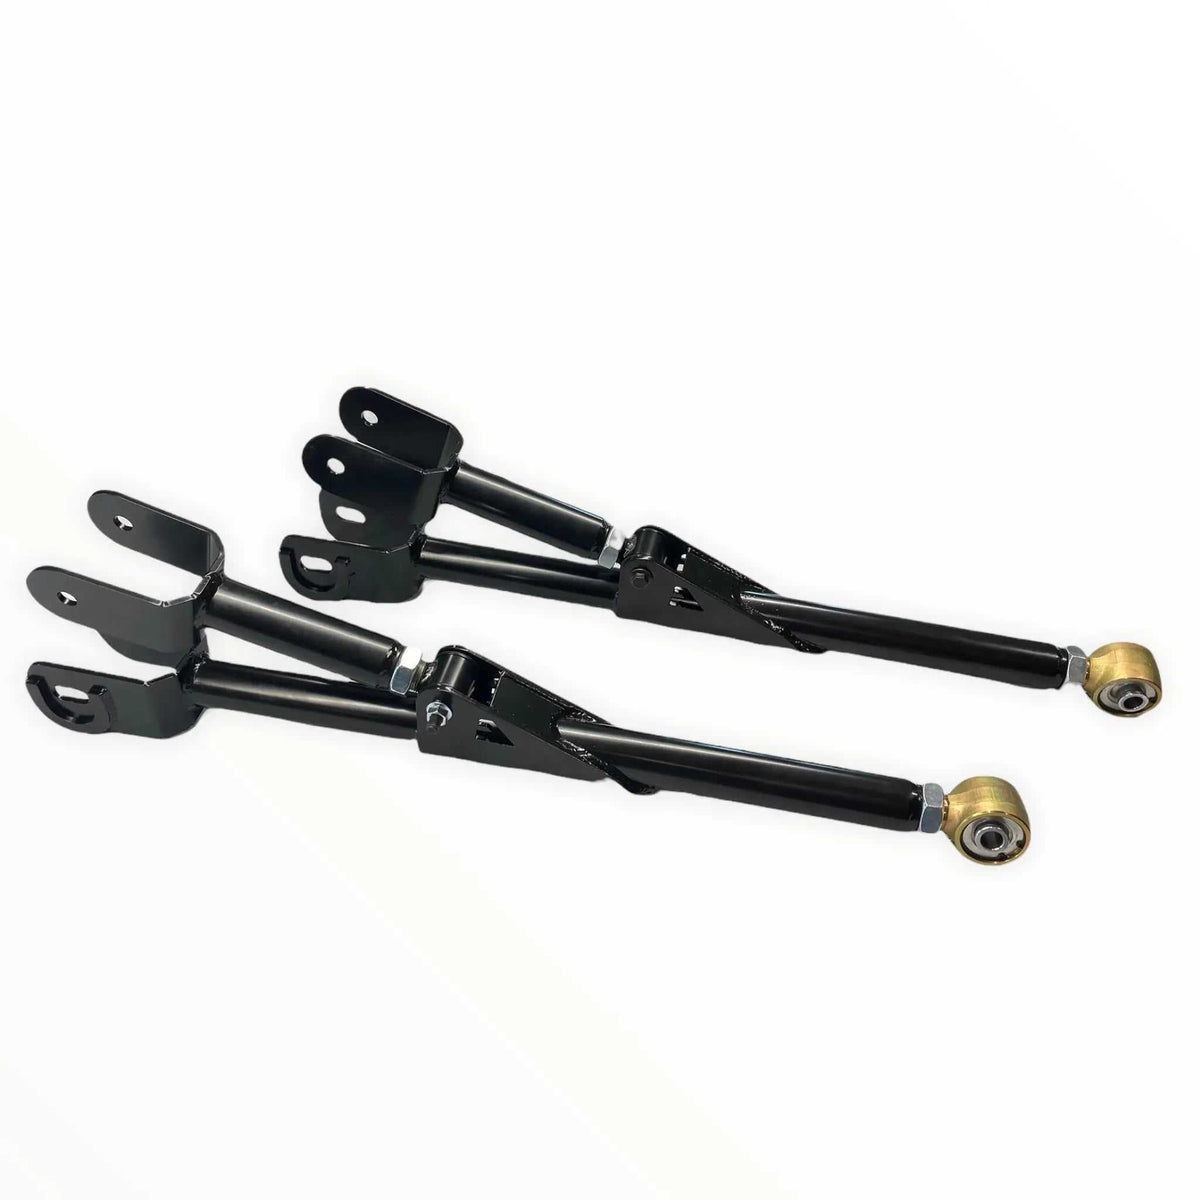
Why 2005-2022 Ford Super Duty Trucks Need Adjustable Radius Arms After a Lift
A practical look at how lifting a 2005–2022 Ford Super Duty changes front-end geometry, and how adjustable radius arms and flex joints help restore control on the road and articulation off-road.

Tire & Wheel Fitment Guide: 2014-2026 Ram 2500/3500 with a Leveling Kit
Running a leveling kit on your 2014-2026 Ram 2500 or 3500? Here's exactly what tire and wheel specs you need for a clean, no-rub fit — including Ram-specific offset and track bar tips.