
1994-2013 Dodge Ram 2500/3500 Adjustable Control Arms Installation Guide
1994–2013 Dodge Ram 2500/3500 Adjustable Front Control Arms
Installation Guide | Apoc Industries | Fits: 1994–1999 & 2000–2013 Dodge Ram 2500/3500
Kit Contents
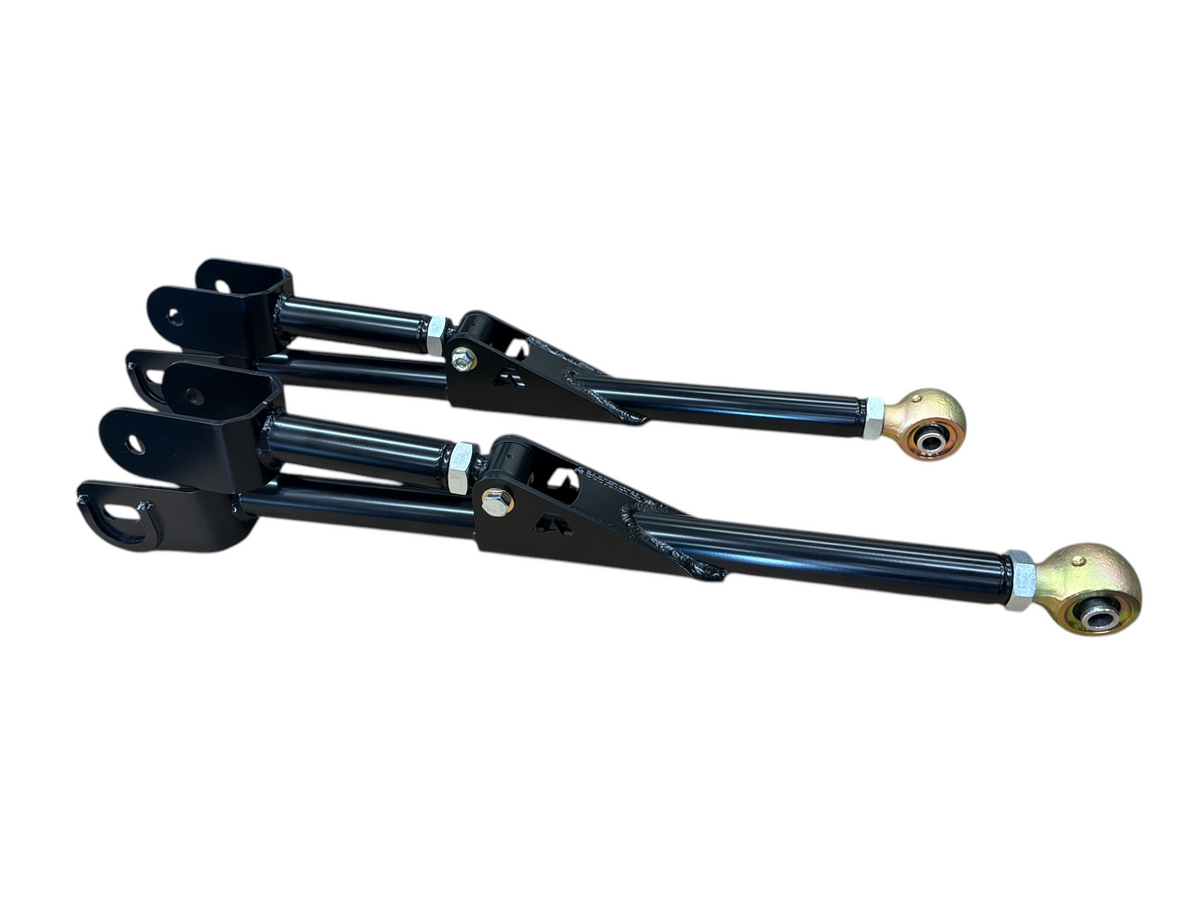
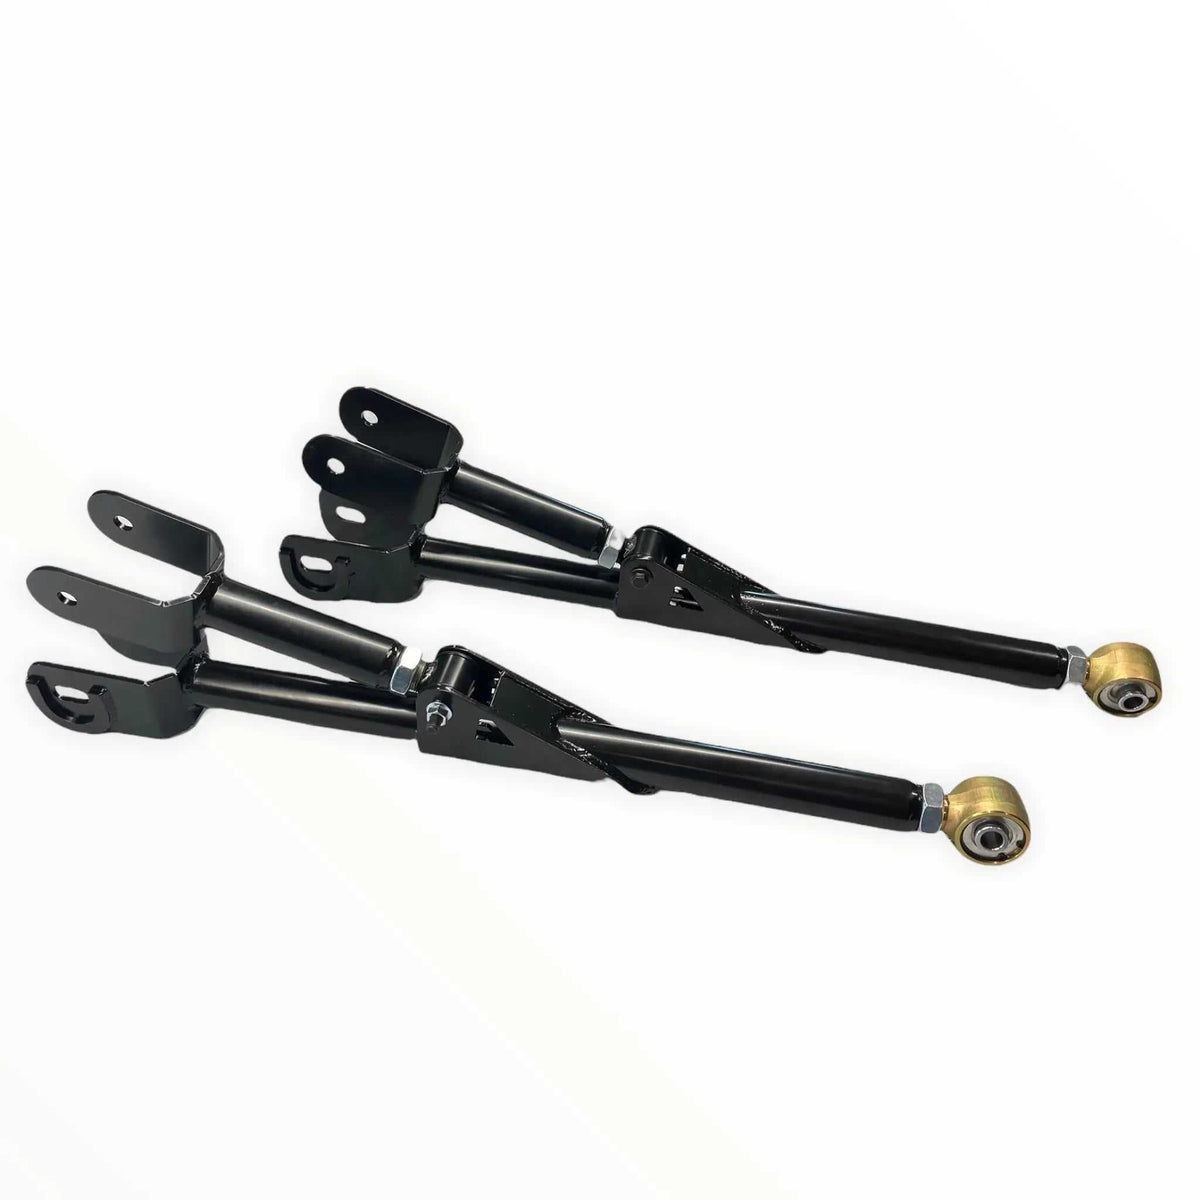
- 2x Upper control arms
- 2x Lower control arms
Optional Hardware (if ordered)
- 6x Grade 8 hex bolts with washers and lock nuts
- 2x Alignment bolts with eccentric washers and lock nuts — available for all year ranges (1994–1999, 2003–2009, and 2010–2013)
Pre-Install Checklist
Required Tools
- Floor jack and jack stands
- Torque wrench
- Socket set — metric and standard, 3/8" and 1/2" drive
- Grease gun
- Wheel chocks
- Safety glasses, gloves, and steel-toed boots (PPE)
Bushing Grease — Important
⚠ All Apoc Industries polyurethane bushings must be lubricated with silicone grease only. Never use petroleum-based grease on polyurethane bushings — petroleum grease will break down the polyurethane material and cause premature bushing failure.
Safety Warnings
⚠ Park the truck on level, solid ground and set the parking brake. Place wheel chocks on the rear wheels before lifting the front of the vehicle. Never work under a vehicle supported only by a floor jack.
Diesel Note
💡 Diesel trucks: The turbo downpipe will interfere with the upper arm frame-side bolt. Before removing the upper arm, loosen the clamp holding the downpipe and exhaust hangers to allow the pipe to be moved out of the way for clearance. Reverse this when reinstalling.
Arm Length Charts
Measurements are center-to-center between bolt holes. Set arms to the correct length for your lift height before installation.
1994–2002 Ram 2500/3500
| Lift Height | Upper Arm Length | Lower Arm Length |
|---|---|---|
| Stock | 17 1/4" | 18 5/8" |
| 2–3" | 17 3/4" | 19 5/8" |
| 4–5" | 18 5/8" | 19 3/4" |
| 6–7" | 19 1/4" | 20 3/4" |
2003–2013 Ram 2500/3500
| Lift Height | Upper Arm Length | Lower Arm Length |
|---|---|---|
| Stock | 16 3/4" | 18 5/8" |
| 2–3" | 17 1/4" | 19 5/8" |
| 4–5" | 18" | 19 3/4" |
| 6–7" | 18 15/16" | 20 3/4" |
Hardware Torque Reference
| Application | Fastener | Torque Spec |
|---|---|---|
| 1994–1999 Upper Arms | Upper arm bolts | 110 ft-lbs |
| 1994–1999 Lower Arms — axle and frame side | Lower arm bolts | 140 ft-lbs |
| 2003–2009 Upper Arms | Upper arm bolts | 120 ft-lbs |
| 2003–2009 Lower Arms — frame side | Frame-side bolt | 170 ft-lbs |
| 2003–2009 Lower Arms — axle side | 16mm alignment bolt | 140 ft-lbs |
| 2010–2013 Upper Arms | Upper arm bolts | 120 ft-lbs |
| 2010–2013 Lower Arms — frame side | Frame-side bolt | 170 ft-lbs |
| 2010–2013 Lower Arms — axle side | Alignment cam bolt | 160 ft-lbs — set caster before final torque |
Step-by-Step Installation Sequence
Step 1 — Prepare the Vehicle
- Park on level, solid ground and set the parking brake
- Place wheel chocks behind the rear wheels
- Jack up the front of the truck and place jack stands under the frame — position them so the axle can still be raised and lowered with the floor jack to ease arm installation
- Remove the front wheels
Step 2 — Remove Factory Control Arms (Both Sides)
When upgrading to longer control arms, both sides need to be removed before installing the new arms. This allows the axle to be moved forward freely on the floor jack to achieve the correct caster angle and arm alignment during installation — something that is not possible if one side is still locked in place with the factory arms.
- Remove the lower arm first on each side, then the upper arm — work through both sides before moving to installation
- Factory bolts will be reused with the new arms unless you ordered the optional hardware kit — keep upper and lower arm bolts separate as they are different sizes
- Diesel trucks: Loosen the turbo downpipe clamp and exhaust hangers before removing the upper arms to allow the pipe to be moved for clearance on the frame-side bolts
Step 3 — Set Arm Lengths and Lubricate Bushings
- Set both upper and lower arms to the correct center-to-center length for your lift height using the charts above
- All arms are designed with the threaded end towards the axle — ensure the threaded adjuster end is oriented toward the axle side on every arm before setting the length
- Lubricate all polyurethane bushings with silicone grease before installation — do not use petroleum-based grease
Step 4 — Install New Control Arms
- Install the upper arm first on each side, then the lower arm
- The upper arm grease fitting should point upward when installed
- The lower arm grease fitting should point downward when installed
- High-clearance control arms: If you ordered the high-clearance option, the arm has a bend that curves inward toward the engine — this is intentional and provides additional tire clearance. Install with the bend oriented toward the engine.
- Use the floor jack under the axle to raise or lower it and roll it forward or rearward as needed to align the arm bolt holes
- Track bar note: When the axle is at full droop (hanging as low as possible), the track bar will pull the axle off-center to one side. If the arm bolt holes are not lining up, do not force them — raise the axle closer to ride height with the floor jack and the holes should align. This is normal behavior caused by the track bar geometry.
- Do not tighten any bolts at this time — leave all nuts loose until the vehicle is back on the ground at ride height
Lower arm axle-side alignment bolt — by year range:
- 1994–1999: Install the factory 14mm cam bolt or the optional supplied alignment bolt — leave loose for caster adjustment later
- 2003–2009: Install the factory or optional supplied 16mm alignment bolt — leave loose for caster adjustment later
- 2010–2013: Install the factory or optional supplied alignment cam bolt — leave loose for caster adjustment later
Step 5 — Reinstall Wheels and Lower to Ride Height
- Reinstall the front wheels and torque lug nuts to factory spec
- Lower the vehicle to the ground so the full weight of the truck is on the wheels
Step 6 — Torque All Control Arm Bolts
With the vehicle at ride height, torque all control arm bolts to spec. Torquing at ride height is critical — it prevents bushing preload and premature wear.
1994–1999:
- Upper arm bolts: 110 ft-lbs
- Lower arm bolts (axle and frame side): 140 ft-lbs
2003–2009:
- Upper arm bolts: 120 ft-lbs
- Lower arm frame-side bolt: 170 ft-lbs
- Lower arm axle-side 16mm alignment bolt: 140 ft-lbs
2010–2013:
- Upper arm bolts: 120 ft-lbs
- Lower arm frame-side bolt: 170 ft-lbs
- Lower arm axle-side alignment cam bolt: Set caster to preference first, then torque to 160 ft-lbs
- Mark all torqued fasteners with a torque stripe for visual verification
Step 7 — Grease All Arms
- Using a grease gun, pump silicone grease into all grease fittings on both upper and lower arms until grease begins to appear at the bushing edges
- Do not use petroleum-based grease — it will degrade the polyurethane bushings
Post-Install Notes
- A professional front-end alignment is strongly recommended after installation
- Re-check all fastener torque after 50–100 break-in miles
- Grease all arm fittings at each oil change interval
- Inspect all hardware for loosening at each oil change interval
- Always use silicone grease on polyurethane bushings — petroleum-based grease will break down the polyurethane and cause premature failure
Safety Disclaimers
This installation guide is provided for reference purposes. Apoc Industries assumes no liability for improper installation, use of incorrect torque values, or failure to follow all safety procedures. Suspension modifications significantly affect vehicle handling characteristics. Always have suspension work inspected by a qualified mechanic and comply with all local laws regarding vehicle modifications.
Apoc Industries | apocindustries.com | 865-983-5004 | support@apocindustries.com | Document Version: v1.0

865-983-5004
Customer Service
Phone support available 9 AM–5 PM EST, Monday–Friday. Call us with questions or leave a message in the chat box—we'll respond during business hours.
Blog posts
Why 2014-2026 Ram 2500 Trucks Need Adjustable Radius Arms After a Lift
How adjustable radius arms help 2014–2026 Ram 2500 trucks control axle position, caster, and front-suspension articulation from stock height through a 10-inch lift.
Why 2005-2022 Ford Super Duty Trucks Need Adjustable Radius Arms After a Lift
A practical look at how lifting a 2005–2022 Ford Super Duty changes front-end geometry, and how adjustable radius arms and flex joints help restore control on the road and articulation off-road.

Tire & Wheel Fitment Guide: 2014-2026 Ram 2500/3500 with a Leveling Kit
Running a leveling kit on your 2014-2026 Ram 2500 or 3500? Here's exactly what tire and wheel specs you need for a clean, no-rub fit — including Ram-specific offset and track bar tips.