
2005-2025 Ford F-250 & F-350 Leveling Kit Installation Guide
2005–2025 Ford F-250 & F-350 Leveling Kit
Installation Guide | Apoc Industries | Part Numbers: AP-300, AP-301, AP-302, AP-303, AP-304
Fits: 2005–2025 Ford F-250 & F-350 Super Duty
865-983-5004 | 9–5 EST | orders@apocindustries.com
Kit Includes
- 2 x coil spring spacers
Optional Add-On
- 2 x Fox shocks (sold separately)
Safety
To ensure safety while installing suspension products, always wear safety glasses and use the correct tools.
Installation Steps
Step 1 — Loosen Radius Arm Bolts
Securely chock the rear tires and loosen the radius arm bolts at both the frame and axle side. Only loosen them enough to allow the bushings to pivot easily. Leaving the bushings tight can damage the rubber when lowering the axle for the leveling kit.
Step 2 — Raise the Vehicle and Support on Jack Stands
Use a jack to raise the front of the vehicle and place jack stands beneath the frame rail just behind the radius arm frame mount. Lower it onto the jack stands and ensure the vehicle is stable. Keep a jack under the axle so you can lower it further later on.
Step 3 — Remove the Front Wheels
Remove both front wheels.
Step 4 — Shocks and Sway Bar
If you have purchased new shocks, remove and discard the old ones. If you are reusing the factory shocks, remove the lower shock bolts. Remove the top nuts from the sway bar link on both sides and lift the sway bar off the link. Remove the brake hose bracket from the lower coil seat.
Step 5 — Lower the Axle and Release Coil Spring Pressure
Lower the axle further to release the pressure off the coil springs. This creates enough space between the upper coil spring and coil spring bucket to install the Apoc leveling kit.
Step 6 — Install the Coil Spring Spacer
Reuse the rubber coil spring insulator between the coil spring and the leveling kit. The leveling kit will sit directly against the coil bucket.
⚠ 2" Kit Only: You will need to cut some of the spring locator off for clearance so the leveling kit can slide over and sit flush in the coil bucket.
Step 7 — Raise the Axle and Seat the Coil Spring
Lift the axle up to seat the coil spring against the leveling kit and the coil bucket, ensuring everything is seated correctly.
Step 8 — Reinstall Sway Bar, Brake Hose, and Shocks
Reattach the brake hose bracket and sway bar nuts. Install new shocks now or reattach the factory shocks and torque to the specs provided below.
Step 9 — Install Wheels
Install the wheels and tighten the lug nuts to the specs provided below.
Step 10 — Lower Vehicle and Torque Radius Arm Bolts
Lower the vehicle to the ground after removing the jack stands, then torque the radius arm bolts to the specs provided below.
Step 11 — Final Inspection
Verify that nothing is rubbing and that the brake hoses are not pinched before driving.
Torque Specifications
| Fastener | Torque (ft-lbs) |
|---|---|
| Shock bolt | 76 ft-lbs |
| Sway bar nut | 85 ft-lbs |
| Radius arm bolts | 222 ft-lbs |
| Lug nuts | 140 ft-lbs |
Torque lug nuts in a star pattern.
Post-Installation Instructions
- After driving for 500 miles, re-torque all fasteners. Inspect all components visually and re-torque during routine vehicle service.
- Adjust the headlights to their proper settings after leveling.
- Have the vehicle aligned to factory specifications and adjust the headlights accordingly.
- Before driving, visually inspect all components to ensure they are functioning properly.
Improve Your Alignment: Radius Arm Upgrade
The factory Ford Super Duty radius arms do not allow for caster adjustment. After leveling, your alignment shop may not be able to bring caster back to factory spec using the stock arms alone. For the best alignment results and long-term drivability, we strongly recommend pairing your leveling kit with one of the following Apoc Industries upgrades:
- Radius Arm Drop Brackets — a cost-effective bolt-on solution that restores proper caster geometry after leveling
- Adjustable Radius Arms — fully adjustable arms that allow precise caster tuning for any lift height
Both options are USA-made and bolt directly to the factory mounting locations.
Safety Disclaimer
This installation guide is provided for reference purposes. Apoc Industries assumes no liability for improper installation, use of incorrect torque values, or failure to follow all safety procedures. Suspension modifications significantly affect vehicle handling characteristics. Always have suspension work inspected by a qualified mechanic and comply with all local laws regarding vehicle modifications.
Apoc Industries | apocindustries.com | 865-983-5004 | orders@apocindustries.com | Document Version: v1.0

865-983-5004
Customer Service
Phone support available 9 AM–5 PM EST, Monday–Friday. Call us with questions or leave a message in the chat box—we'll respond during business hours.
Blog posts
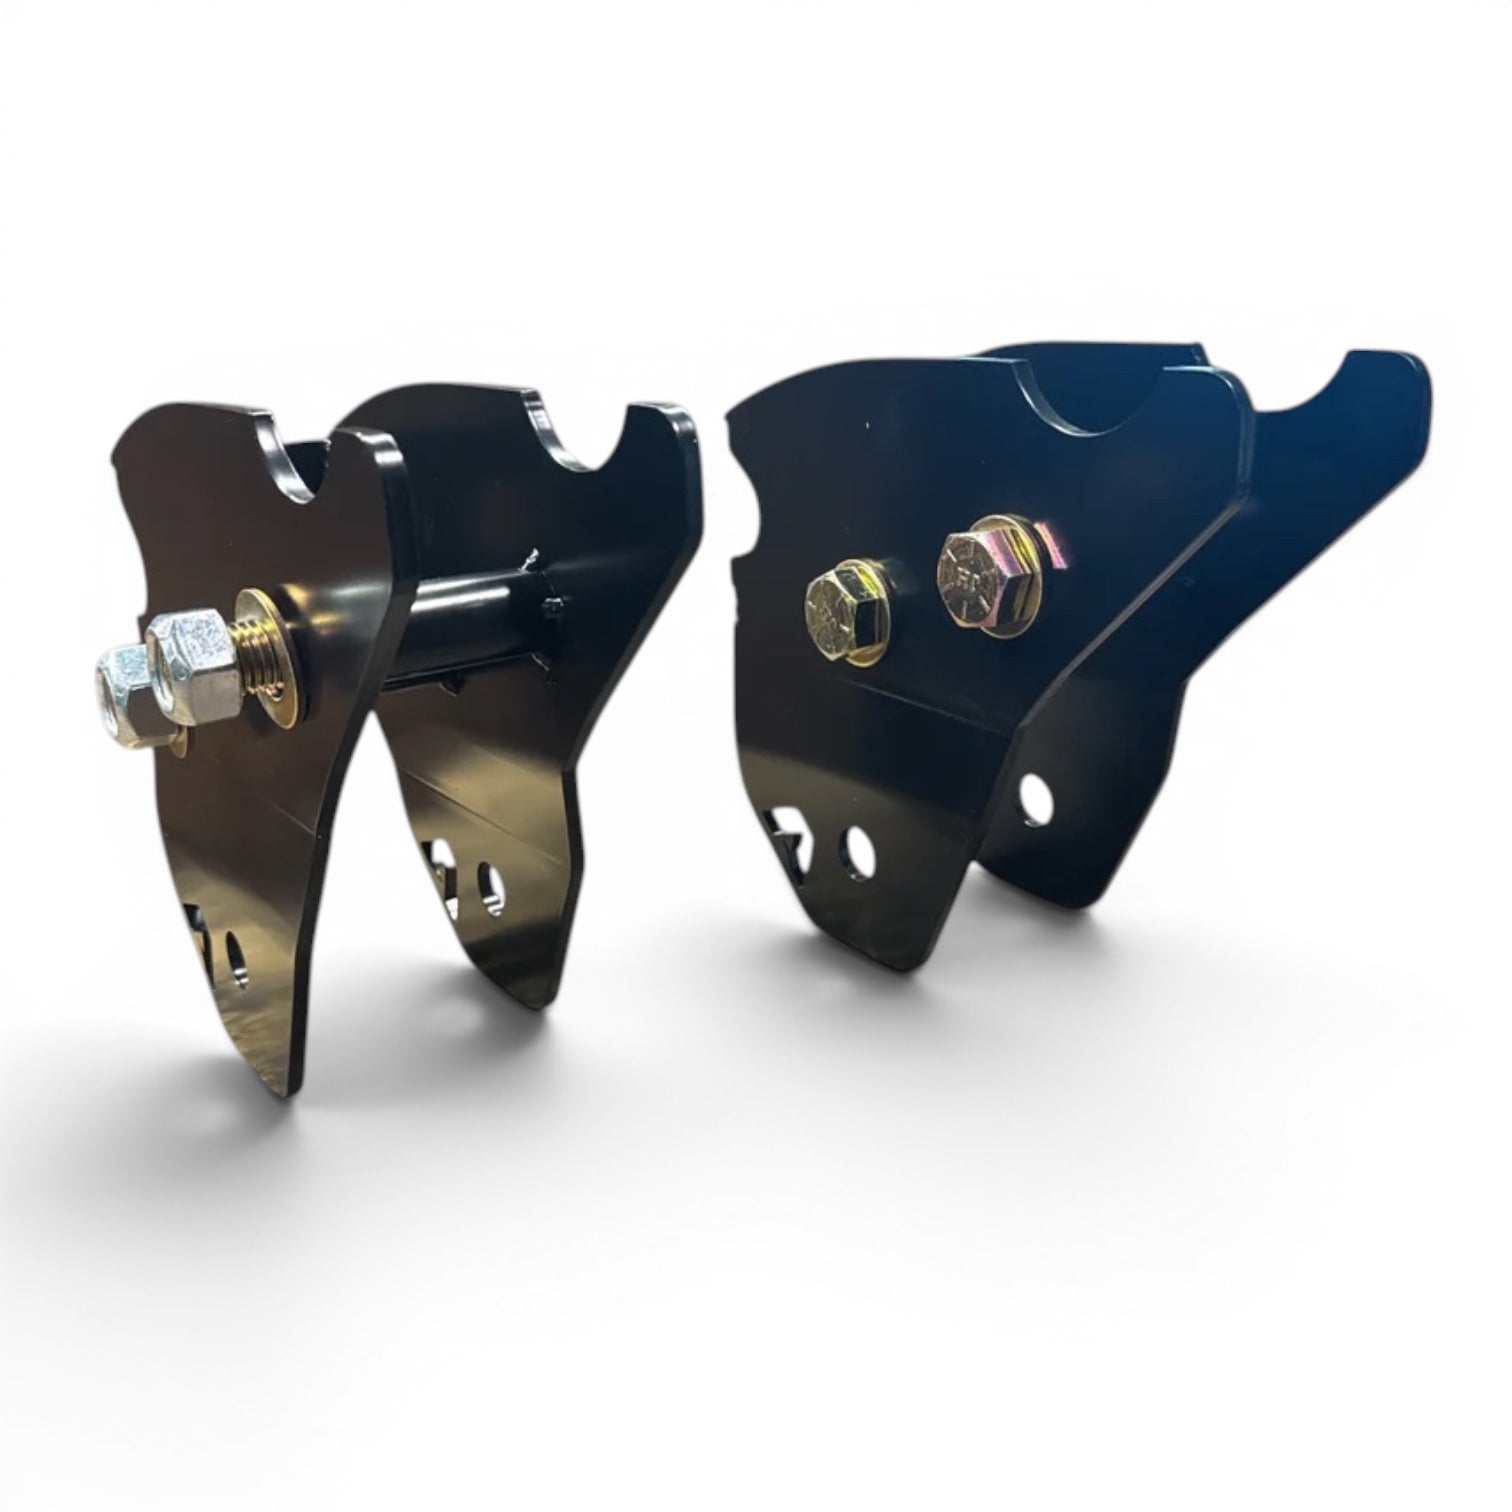
Radius Arm Drop Brackets: What They Are and Why Your Lifted Truck Needs Them
Learn how radius arm drop brackets restore proper suspension geometry on lifted trucks, correcting caster loss, bump steer, and ride quality issues.
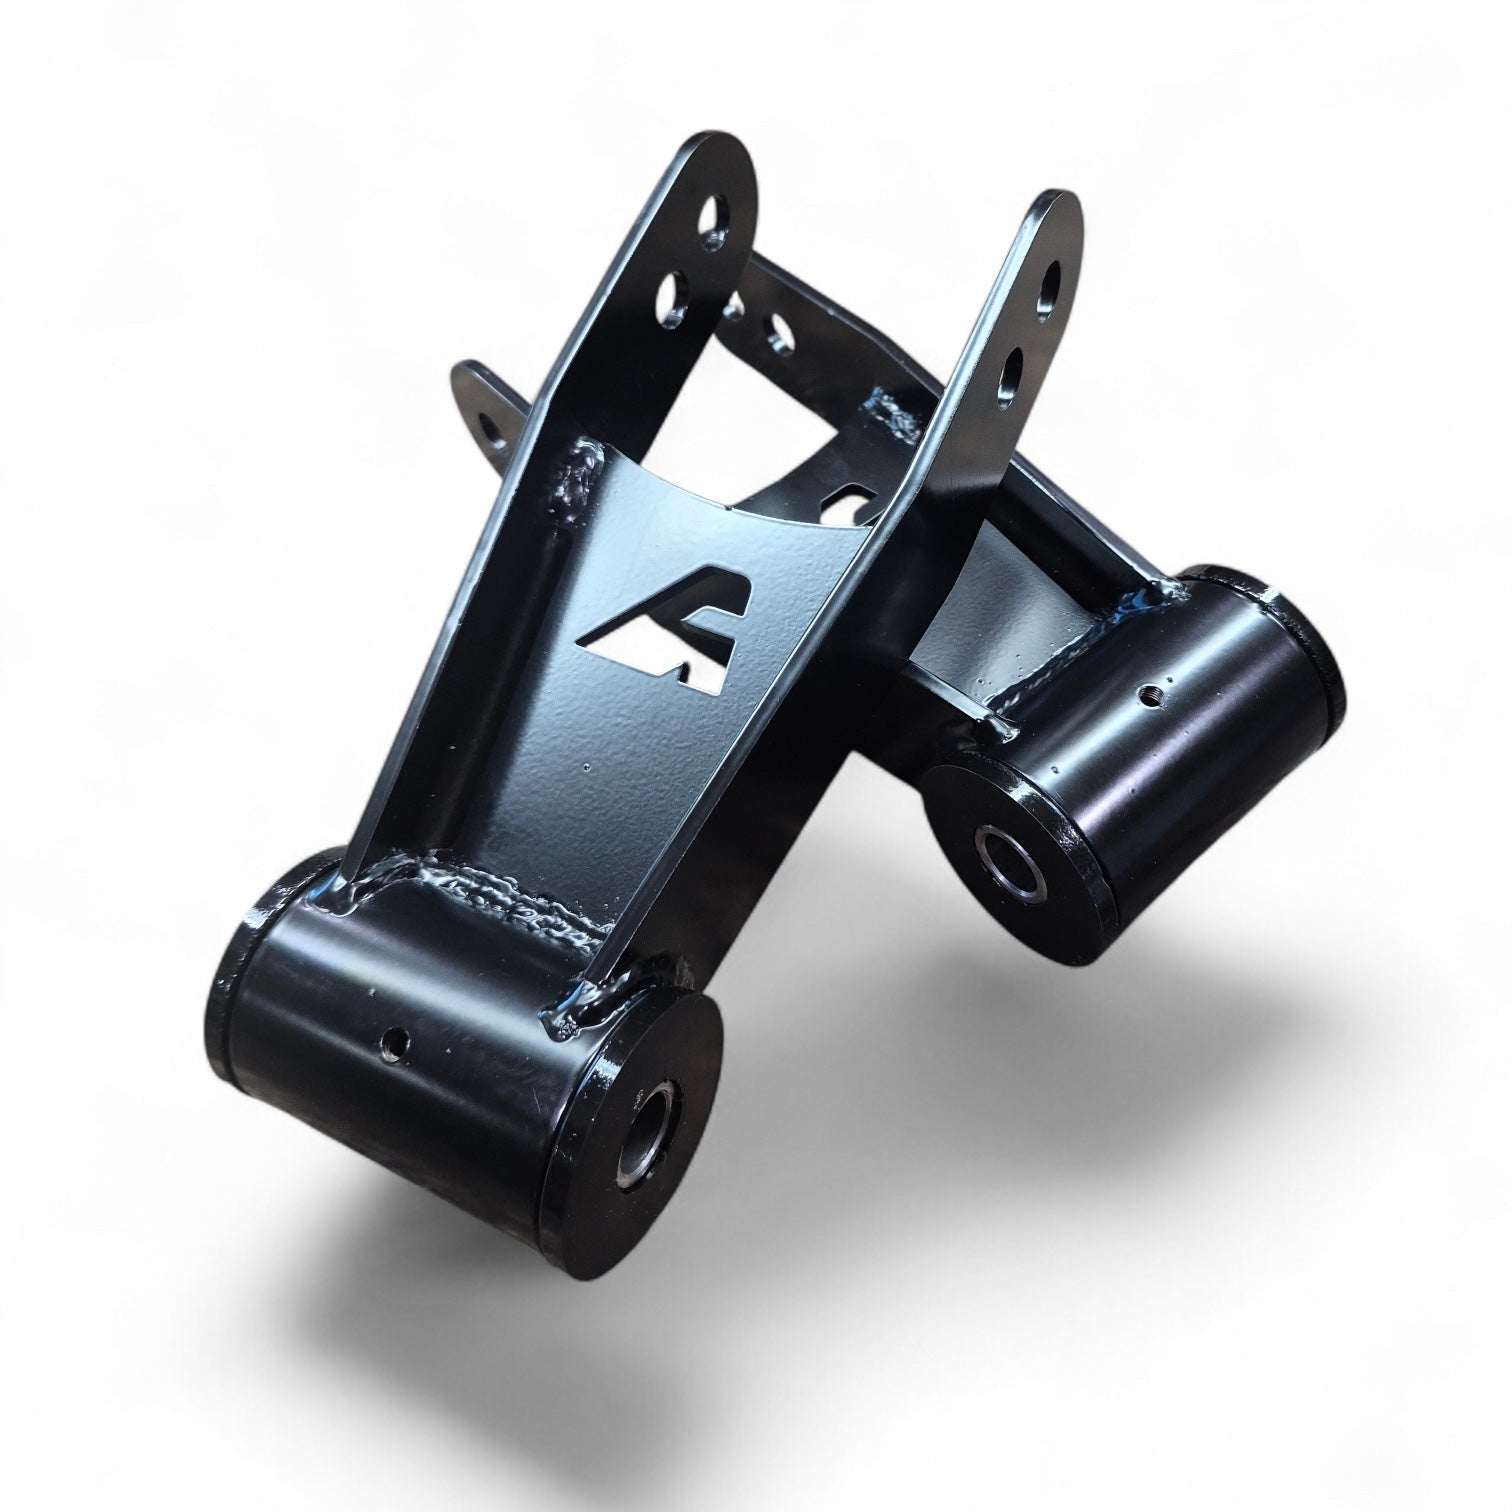
Whether you want to drop the rear of your F-150 for a leveled stance or add lift to a Ram or Silverado, APOC shackles deliver strength, adjustability, and clean bolt-on performance. Here’s everythi...
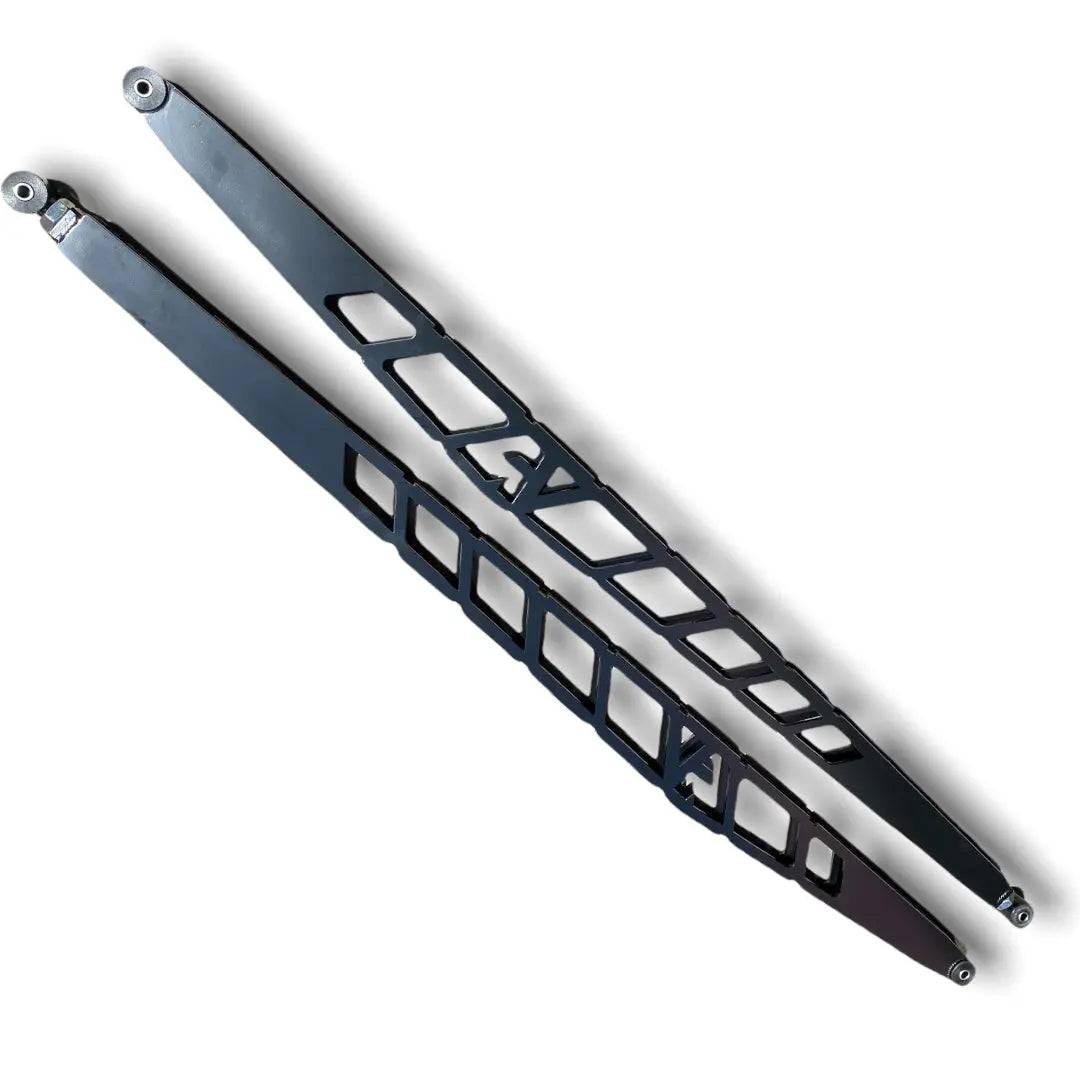
Ladder Traction Bars for Trucks: How They Work, Benefits & Why APOC Ladder Bars Stop Axle Wrap
Lifted trucks with big power or tall lift blocks are prone to axle wrap and wheel hop. Ladder traction bars solve the problem by locking down the rear axle under hard acceleration and towing. Here’...